
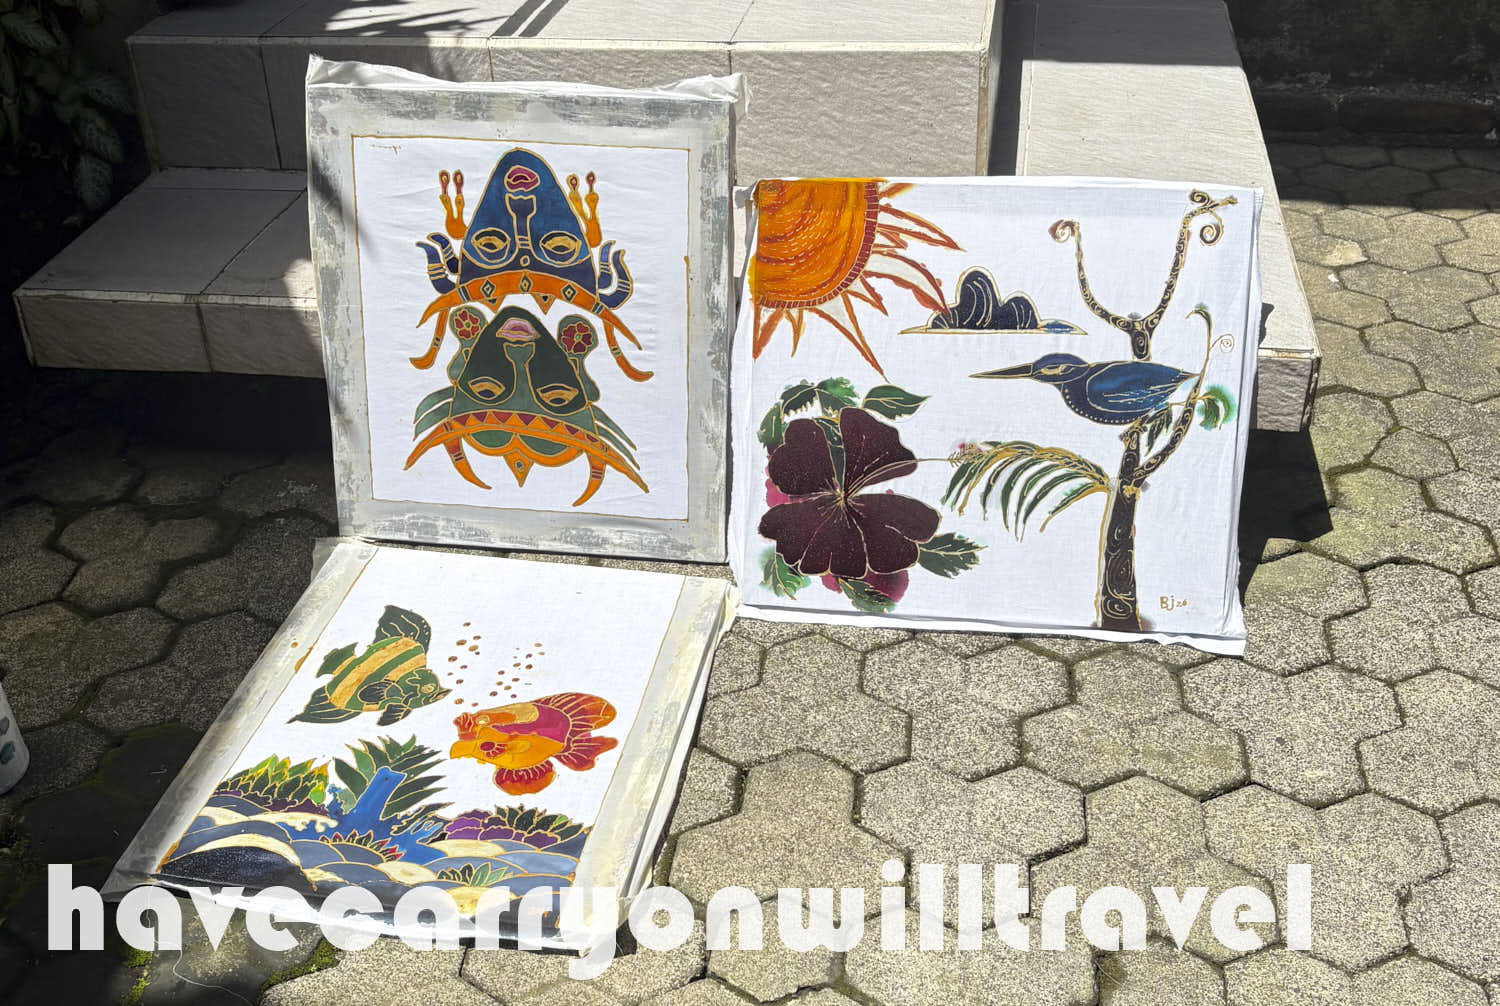
It is a day of batik for B and me. We arrive at Nirvana Batik and are put to work immediately. The first step to pick a pattern and pencil it onto a piece of lightweight cotton. They do not have much choice in premade patterns, as it seems they want you to draw it. That’s not happening, so I choose a two mask piece and B picks a fishscape.
The next step is to practise using a chanting to “draw” the wax lines onto the fabric. When we are proficient enough, we wax our own pieces. This is the part that has a very steep learning curve, but the best part is that the instructor can remove any drips or mistakes.

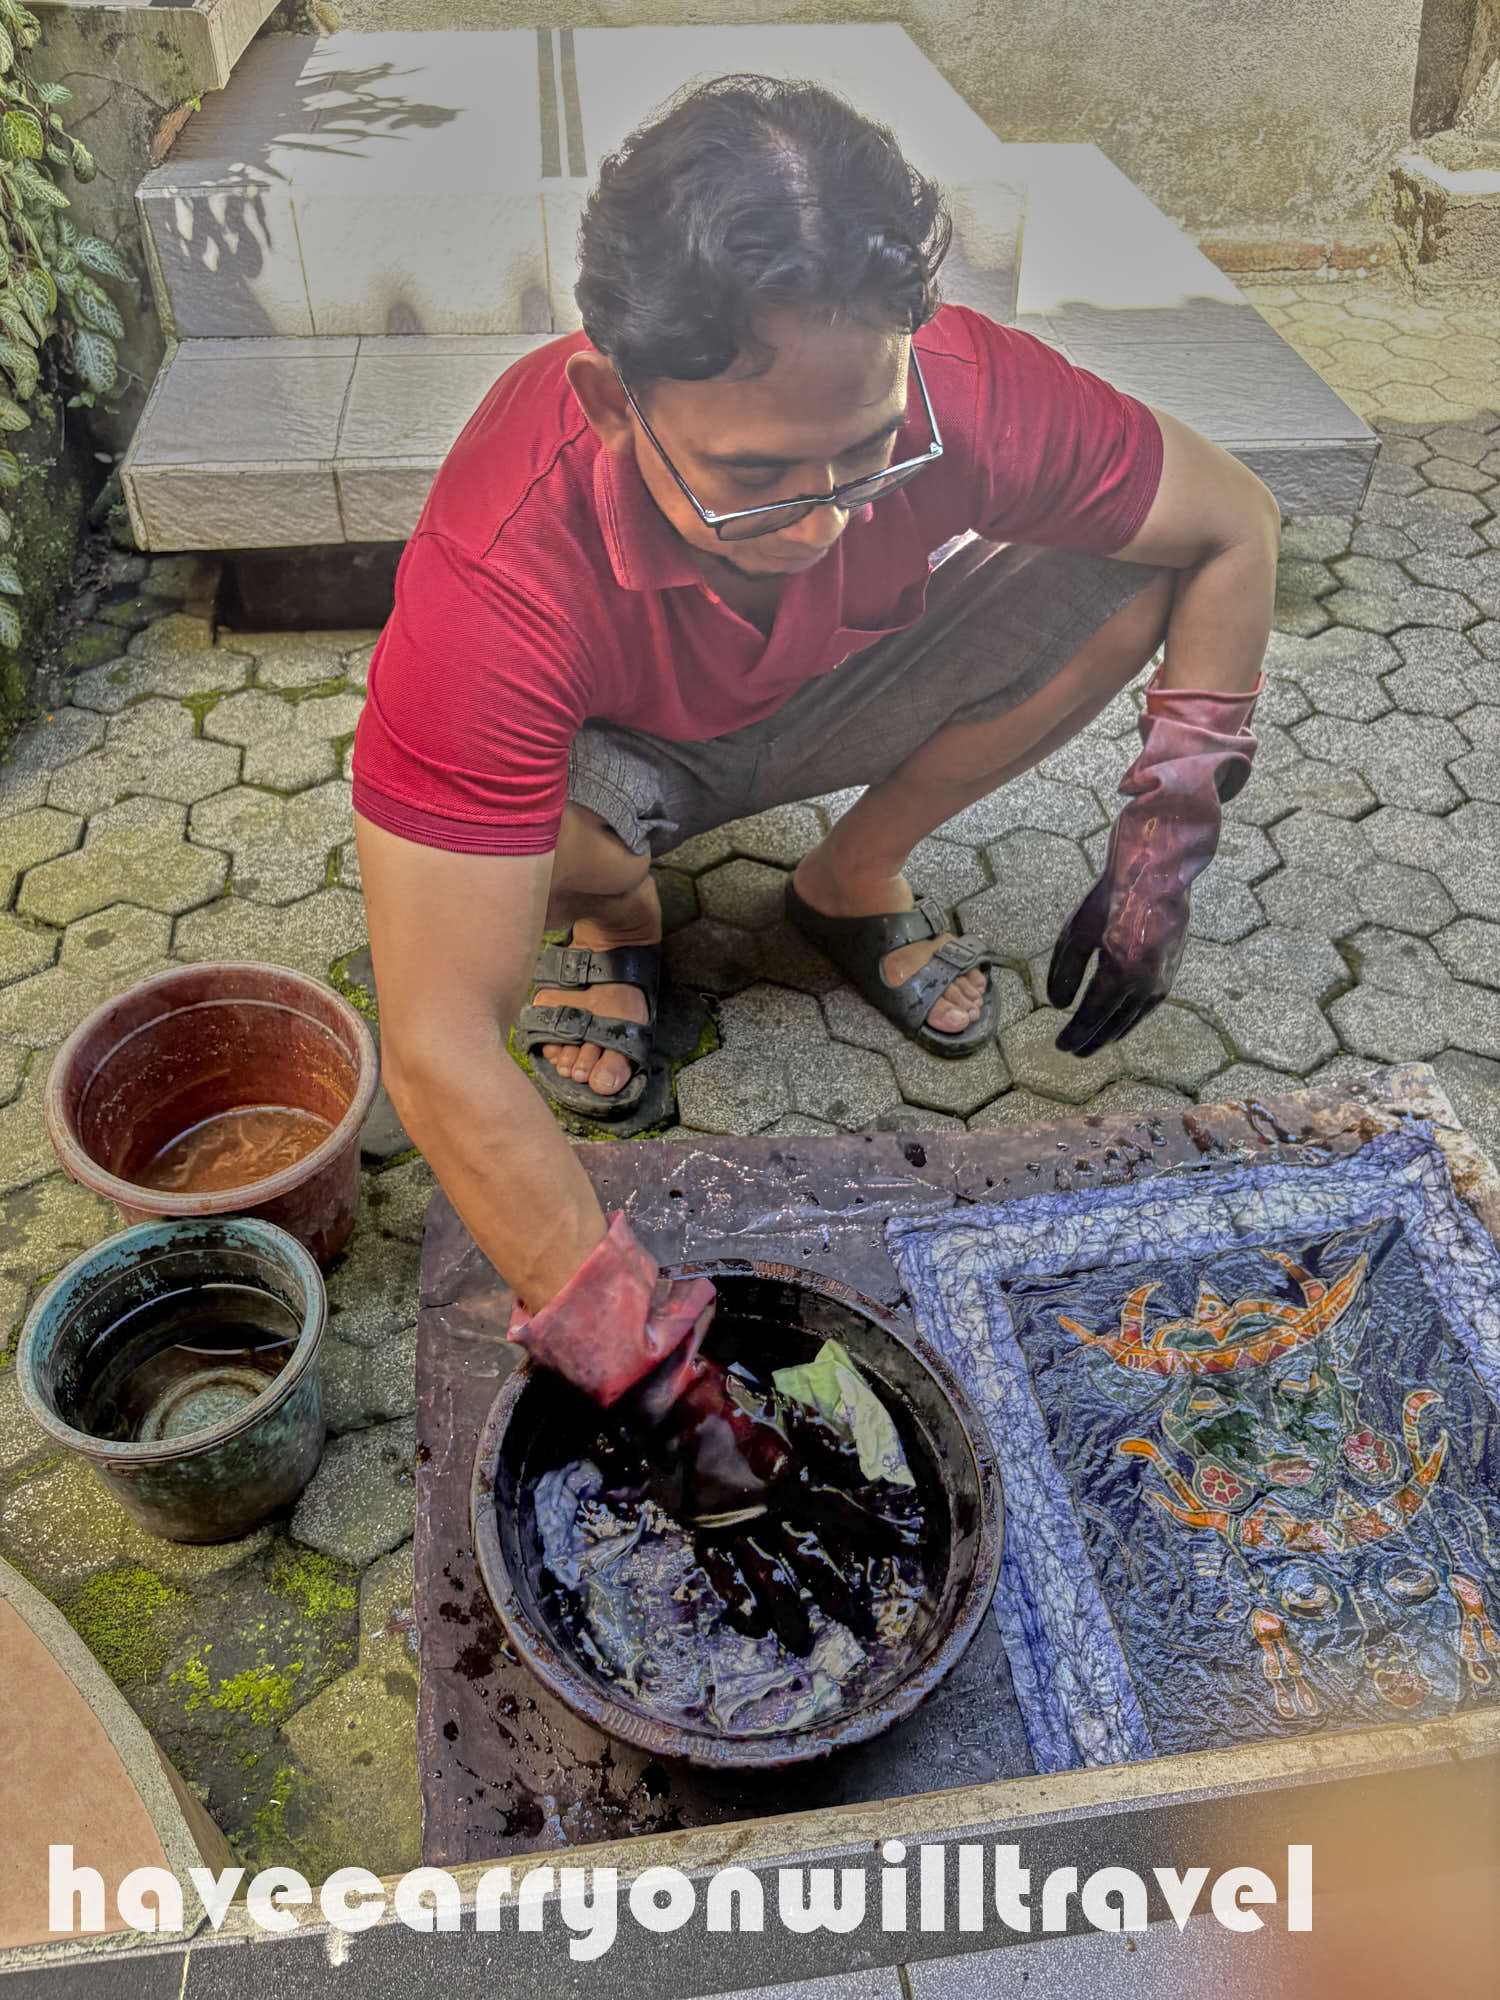
Dyeing is next. That takes some time as I ponder what colours to use and do not have a sample to draw from. The pieces are placed in the sun to dry, and have fixer painted on them.
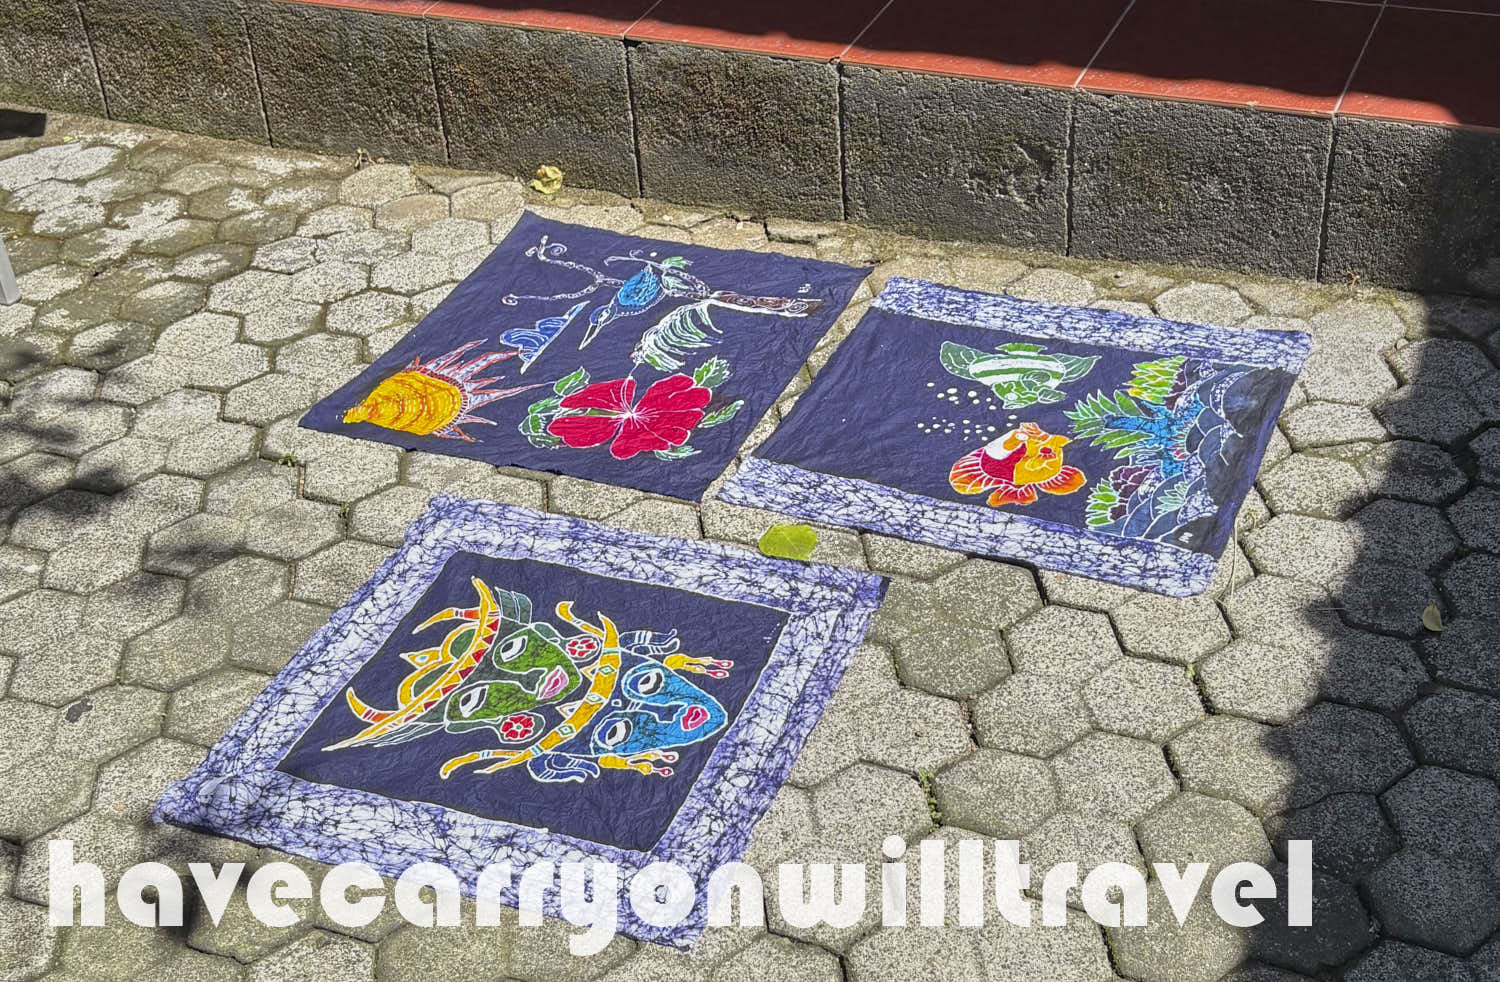
Next is covering the dyed portions with either beeswax or paraffin wax. The paraffin wax is brittle and creates a “crackle” effect. The borders are done this way. Then the works are placed in a blue dye to dye all the areas not painted.
The wax is removed in boiling water, the pieces dried and ironed, and voila, we are done. It is constant work for about 4.5 hours but we get fed lunch and it is fun to create.
I learned a few techniques that I will employ in my batiking at home, so I am glad we did the class. Play we had FUN!